The Weary Spindlefly
UH18 Hoverwing
Located Skelmorlie, west coast of Scotland on the river Clyde
21/sept 2013
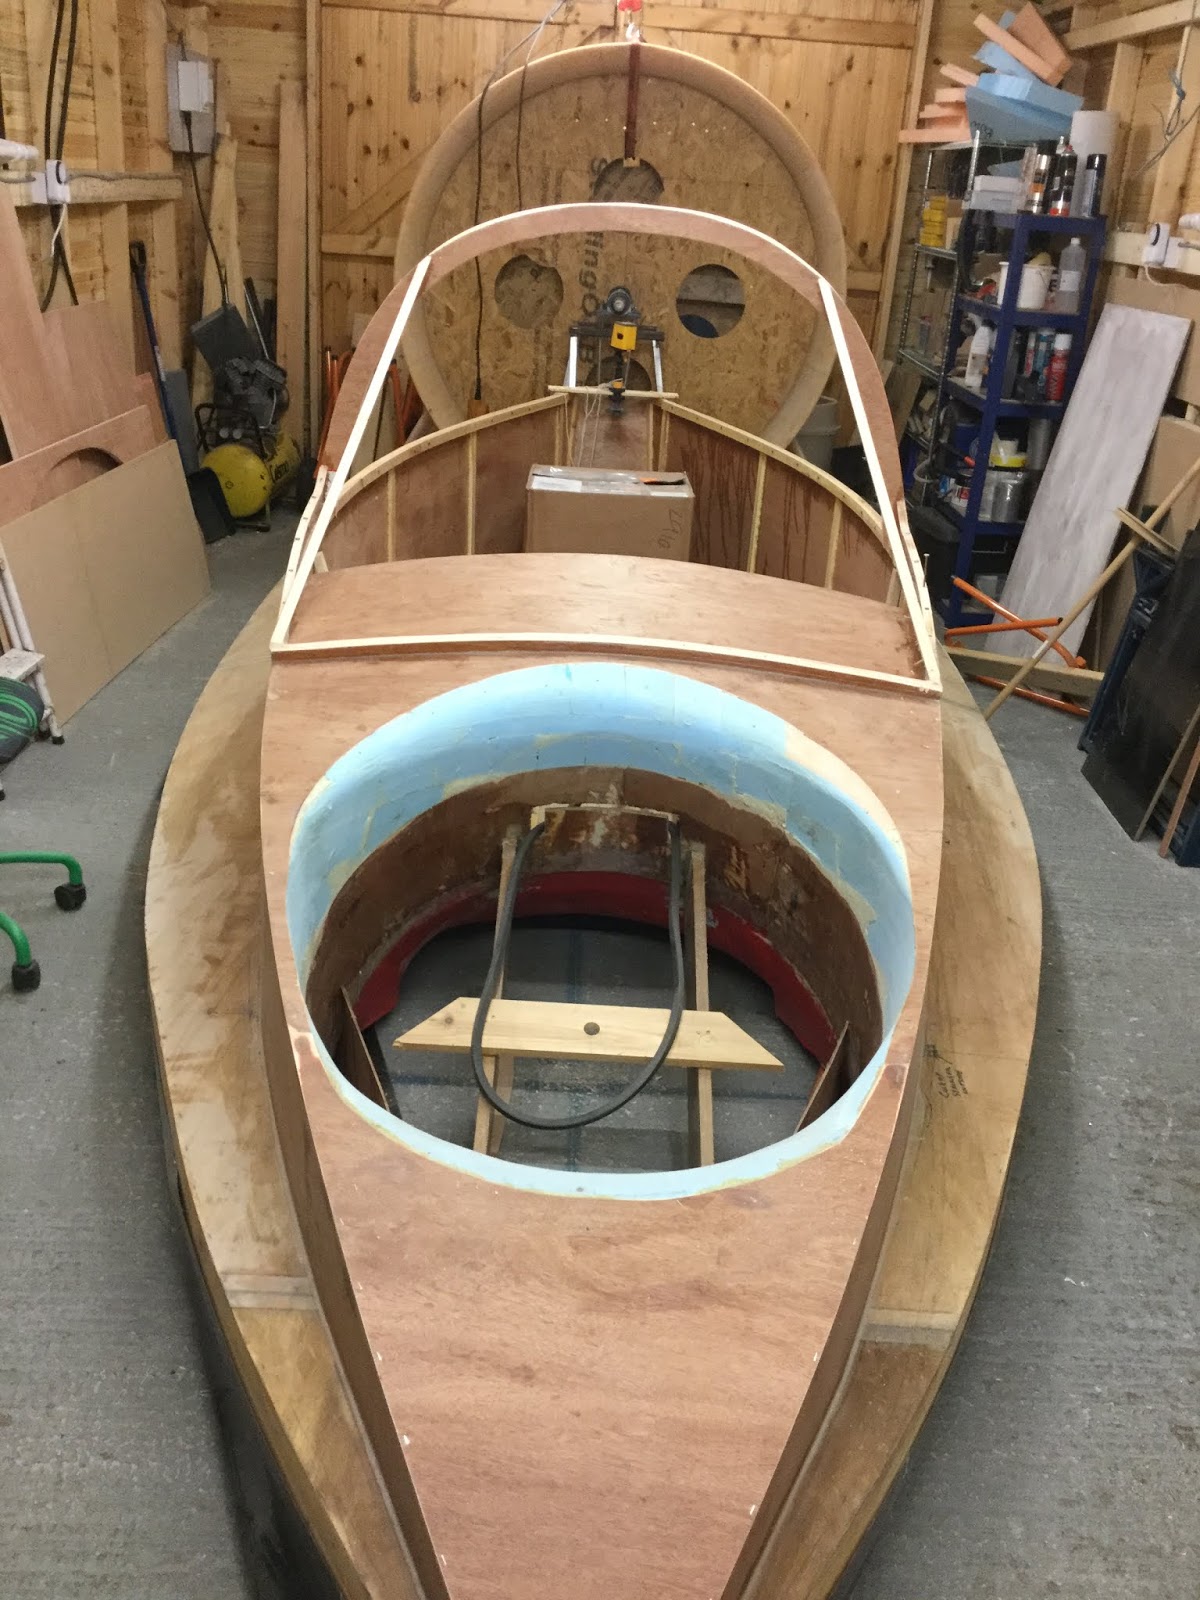
Today I got the styrofoam 75mm and plywood for the hull, it's stacked up in my workshop and ready to go. This is a great opportunity for me to buy lots of new tools and gadgets!
28/sept 2013
Started cutting the metal for the engine frame today.
The drawings from Universal Hovercraft (UH) are not great and I think it would be a struggle for most people to build the frame using them. I did email UH to ask if they had a more detailed drawing,
but got no response.
We were lucky enough to have bought an abandoned project - we'll call it (MkI) - that has all the hardware, including the engine frame, so I was able to use it as reference to sizes and angles. The UH frame, in my opinion as a metal worker/welder, is ropey as the holes for the pillow blocks, which were also supplied by UH, did not line up with the pre-drilled holes on the frame.
Anyway, with a lot of work, it is coming together.
I have measured the UH frame, and re measured it, and have now done my own drawing in metric measurements.
The hoverwing MkII( the weary spindlefly ) is being built by myself, (John McGonigal) Chris, and his son, Oliver.
I am a metal worker and former MG specialist,
Chris, is an expert in RC model aircraft, Land Rover and has all round good knowledge
Oliver, has expertise in model aircraft and is studying to be an Aero-engineer
We have built two hovercraft previously, but now is the time to do a more ambitious project - so we have chosen the UH 18 hoverwing.
Chris and Ollie are building one between them, with some help from me (MkI, the abandoned project )
I hope the information that I post here on this diary will be helpful to other UH18 builders.
I am looking forward to welding the engine frame together - I find welding to be very rewarding.
I do MIG and Stick welding. On this project I will be using the MiG because it is my preferred method.
The reason for starting with the engine frame is because Chris and Ollie's craft is 3/4 done, and now that I've copied it, they will need their frame and engine back soon - currently it is in my workshop.
13/October 2013
Today I was building a jig for the engine frame using a large sheet of heavy plywood and 2 x1 timber. It's time consuming trying to get it right, but it's coming along nicely .
Lots more measuring involved on making the jig, just to make sure that everything will line up properly.
 |
| Engine frame |
 |
| Engine frame in jig |